Okay, so you’ve made your awesome air dry clay piece, and now you want to make it look shiny and fancy — that’s where glazing comes in!
Think of glaze as the magic coat that protects your creation and gives it that perfect glow. Whether you want it glossy, satin, or just “nice and smooth,” glazing will do the trick.
Don’t worry, it’s not rocket science. I’m here to walk you through the easy steps and share some tips so you don’t mess it up like I did the first few times (been there, done that 😅).
If you’re completely new to air dry clay, I recommend checking out my previous post, where I share everything you need to get started — from essential supplies to the best beginner tips.
What’s This Glaze Thing Anyway? And Why Should You Care?
So, glaze is basically a clear, shiny (or not-so-shiny) layer you paint on your clay once it’s dry and painted. It’s like giving your masterpiece a little raincoat to keep it safe from scratches, dust, and random coffee spills (hopefully no spills though!).
Here’s why you wanna glaze:
It makes your piece look fancy (hello, shiny vibes)
It protects your hard work from getting damaged
It makes your clay last longer — because who wants a cracked or dull sculpture? Not you!
What You’ll Need Before You Get Glazing
Alright, before you jump in, grab these essentials:
A clear glaze or varnish made for air dry clay or acrylic paint (glossy, satin, or matte — your call!)
A soft brush (I once bought this cheep set of brushes and they are perfect for painting or applying glaze also)
Somewhere clean and dust-free to work (dust loves to crash the party, so keep it away!)
Step 1: Make Sure Your Clay Is Totally Dry and Painted
Before you even think about glazing, your clay needs to be 100% dry. And if you painted it, that paint better be dry too — no wet paint under glaze, or you’ll end up with a sticky, messy disaster. Trust me, been there, done that. So, patience is key here!
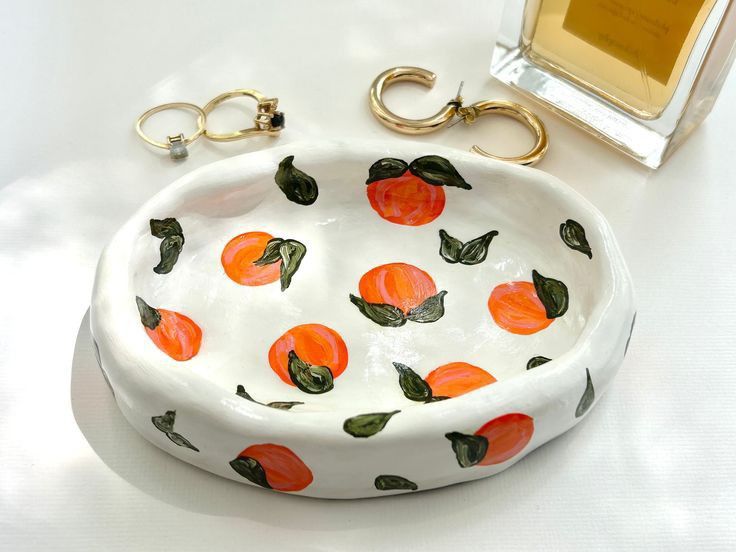
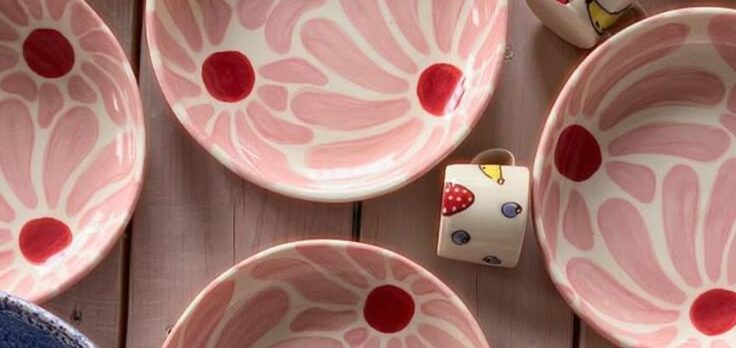
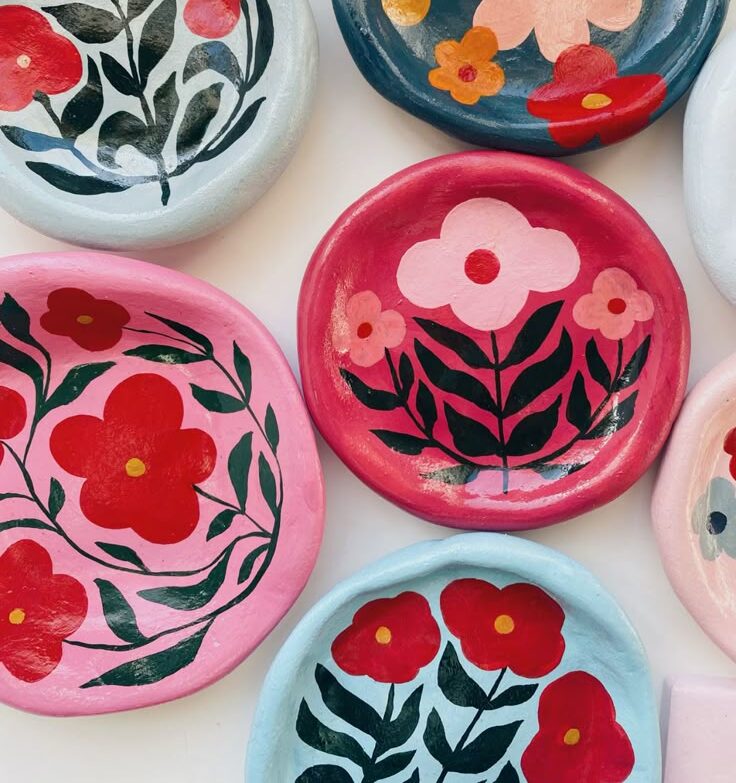
Step 2: Choose Your Glaze – Glossy, Satin, or Matte?
Glaze comes in all kinds of finishes. Glossy = shiny and bright. Satin = a soft glow. Matte = smooth but no shine. Pick whatever vibe you want your piece to have. I personally love glossy for that “wow” factor, but matte has its charm too. I use this glaze and it works perfect!
Step 3: Apply the Glaze (Don’t Panic, It’s Easy!)
Dip your soft brush into the glaze and paint it on in thin, even coats. When applying glaze, don’t just slap it all over in one go — you need a dry spot where your piece can rest without sticking to the table. I learned the hard way: glazing the entire piece at once means the wet glaze on the bottom sticks, rips off, and ruins your work. Instead, glaze the top first, let it dry, then carefully turn and glaze the other side. This way, your masterpiece stays flawless and stress-free!
Step 4: Let It Dry (Again, Patience!)
Leave your piece to dry completely between coats. Depending on your glaze, this could take 30 minutes to a couple of hours. Don’t rush it or you’ll mess up your masterpiece. Tip: Use a hairdryer to speed up the drying process! If you’re curious about more life hacks like this, you’ll find them all in this post: How to Work with Air Dry Clay: 15 Tips I Wish I Knew Sooner
Step 5: Apply More Coats (2–3 is Perfect)
Once the first coat is dry, add a second one. You can do 2 or 3 coats depending on how shiny or protected you want your piece. Just remember: thin layers are the key to success!
And you are DONE!
And that’s it! Glazing is super rewarding once you get the hang of it, and your air dry clay pieces will look like total pros.
If you have any questions or want me to cover specific glaze brands or tools, just shout! 😊